
V12 Beta, VOLT MX, Sametime Premium, Nomad Web, and More!
Mat Newman February 10 2021 00:17:07
[]Today I'm going to provide you with a quick update on a number of fantastic developments in the Digital Solutions portfolio that have occurred in recent weeks, and then over the next few weeks we'll take a closer look at each of these topics in more detail.
First I wanted to remind everyone that we are now only a couple of months away from the exciting new release of HCL Notes and Domino version 12, the second major update to our favourite platform that has emerged from the HCL Software stables. In order to enable our existing Customers and Partners to provide us with feedback on some awesome new capabilities that are going to be included in the next release, HCL have enabled access to the Notes and Domino beta for all existing customers and partners to download from your HCL Software Portal. We have not only enabled the download on your HCL Software Portal, we have also launched our beta feedback forum (the link is below in the description) where you can sign in and give us specific feedback on all of the new capabilities in your own environments.
Why aren't we running a public beta? The reason is pretty simple: The Beta programme is designed for customers and partners who are already familiar with the core capabilities of HCl Notes and Domino, to enable you to test some specific new features, and to give us real world feedback on your experiences from the field, on those new capabilities.
If you are not an existing customer, it's still possible for you to get access to the beta, by connecting with one of our Digital Solutions Product Specialists in your region, and we'll set you up with a free trial, so you can experience this latest release for yourself. If you don't know who your local Digital Solutions Product Specialist is, feel free to reach out to me on Linkedin, and I'll put you in touch.
New functionality is included in the Domino Server - on Linux, Windows, System I, and of course as Docker images - as well as Domino Administrator and Designer, and of course the Notes Client itself.
A couple of weeks ago our Domino Product Manager - Thomas Hampel - announced a summary of all the new capabilities (I've included a link to that blog entry below) and I am going to cover many of these new capabilities coming in Notes and Domino version 12 in a future episode, so we can discuss the benefits that all these new capabilities will bring to your organisation in more detail.
Again, the Beta is already available for you to download from the HCL Software Portal, the forums are also ready and available for you the give feedback, and links for the beta forum, are all included in the description below:
One of the big ticket items in the version 12 Beta that I want' to call out specifically in this update is the ability for your to also try out a brand new client experience for your existing Domino Applications - HCL Nomad Web.
What is HCl Nomad Web, I hear you ask?
Well, Some of you are already familiar with the fantastic HCL Nomad Mobile client that is currently available on both iOS and Android. The Nomad Mobile Client gives you the ability to run all of those existing Notes applications in your organisation; No matter How old they are; With absolutely ZERO code changes; on a mobile device. Yep, even if it's an application that contains Forms, Views, Formula Language or Lotusscript that may have been written decades ago - that App will run on a mobile device with HCL Nomad Mobile, again, with ZERO code changes.
Now, we've listed to our customer base, and some of you have asked for the same easy to deploy and manage Nomad experience on a Desktop.
Enter HCL Nomad Web.
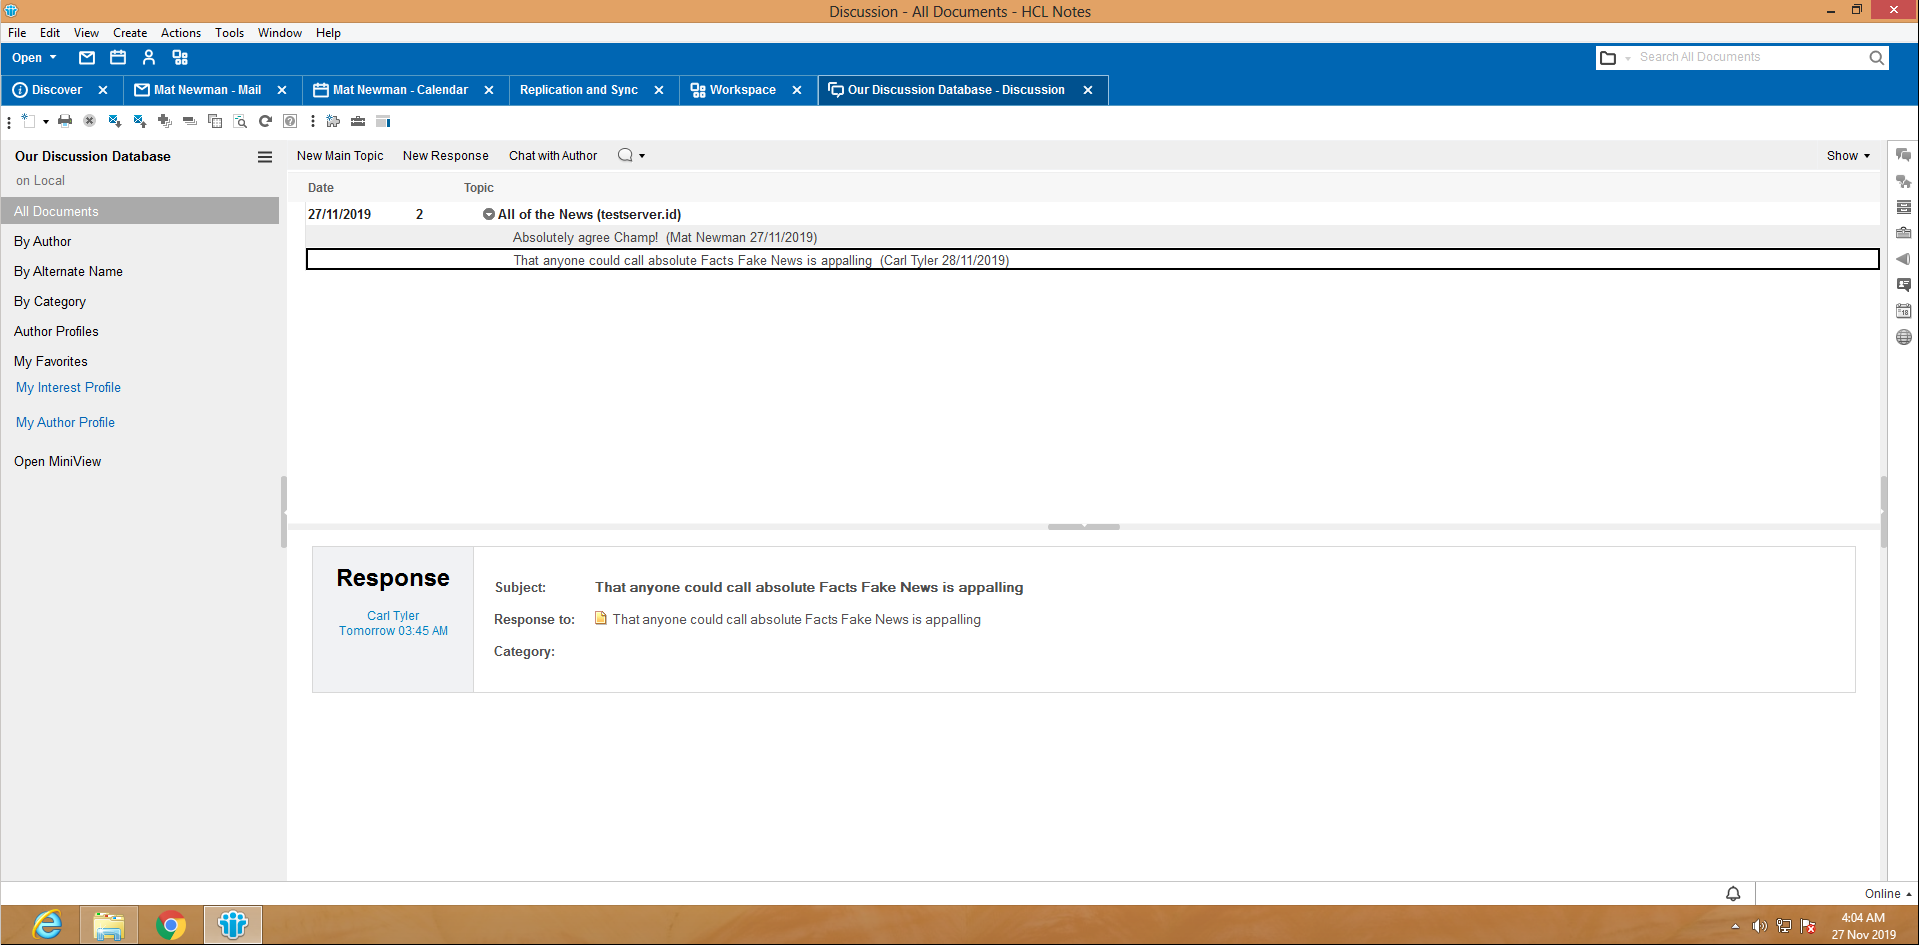
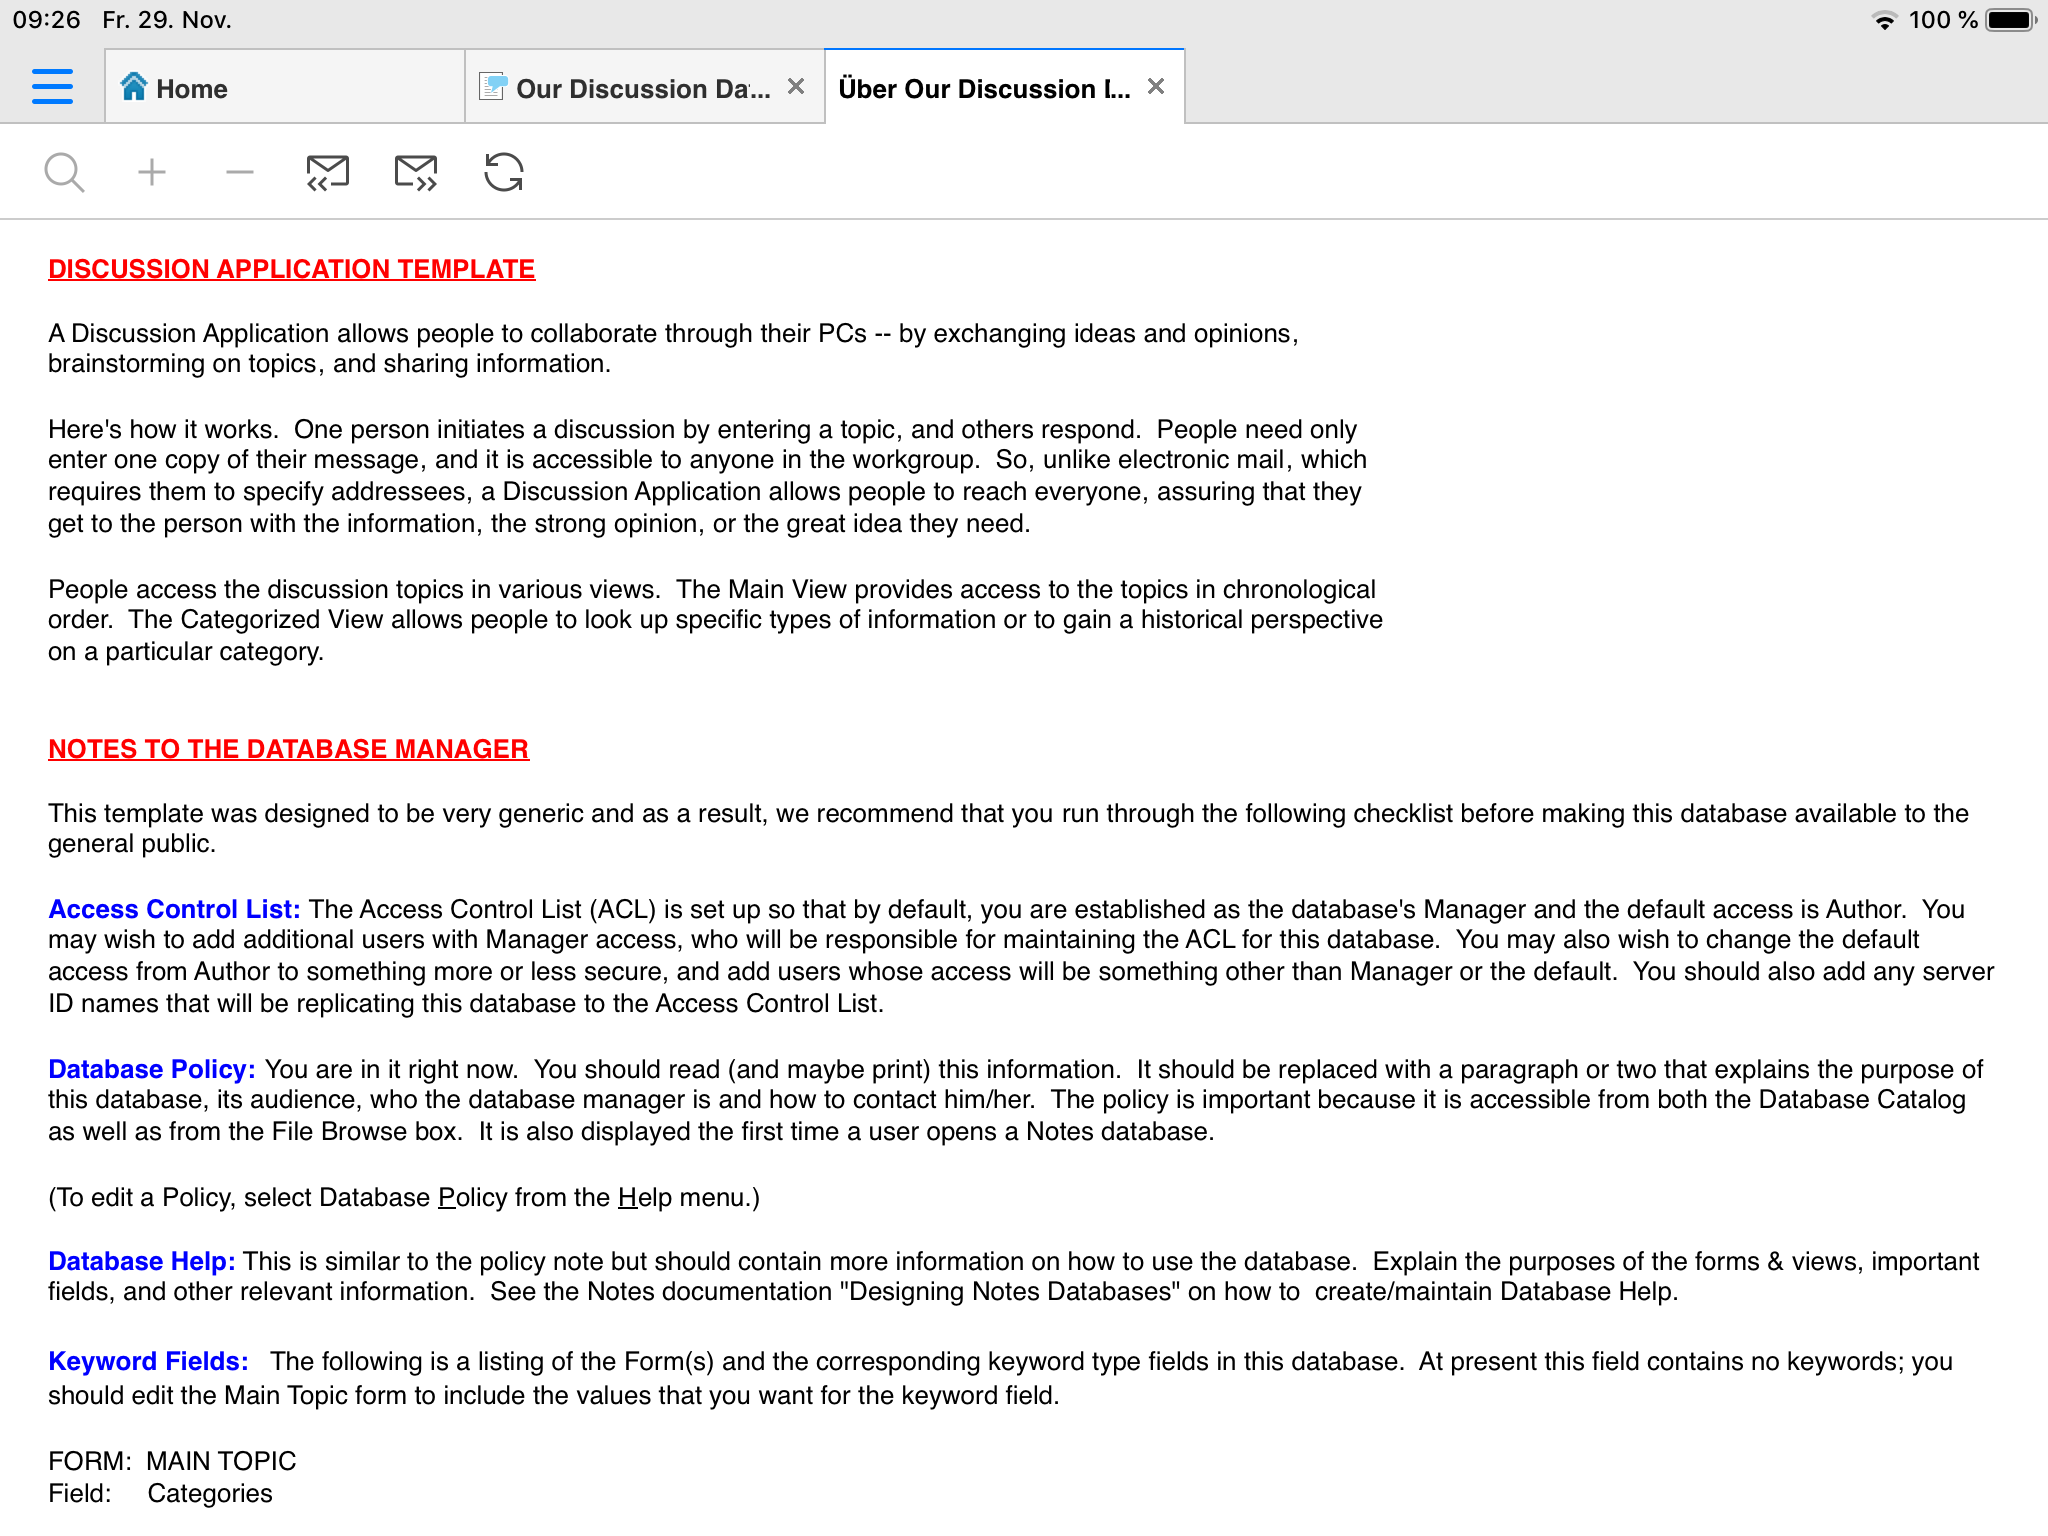
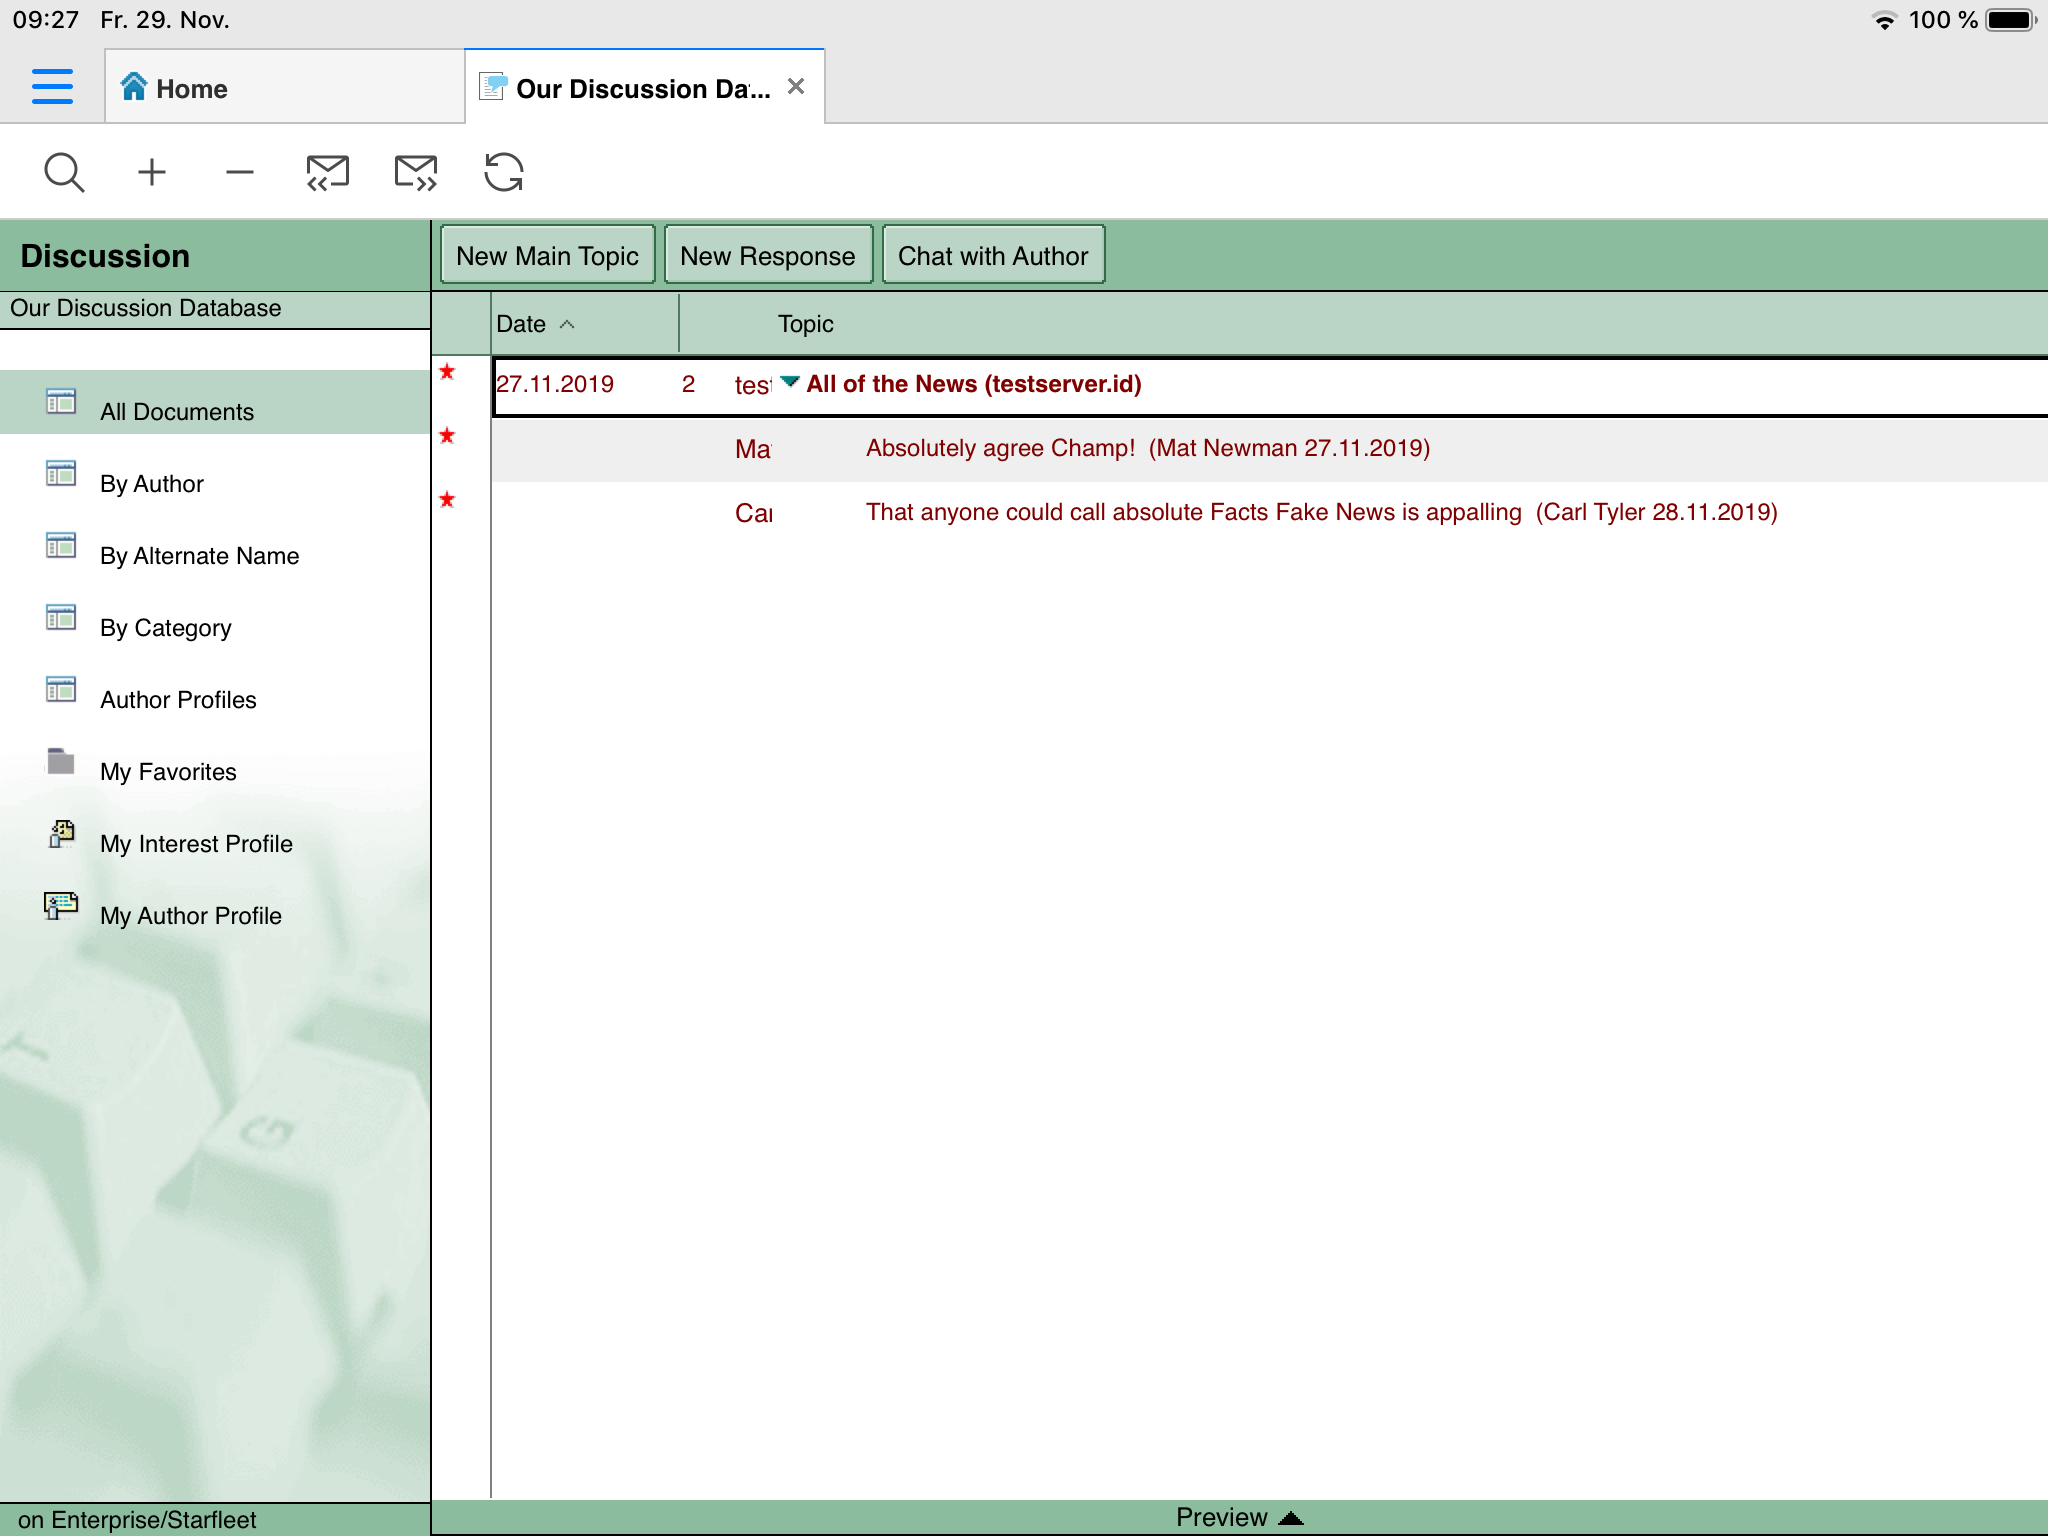
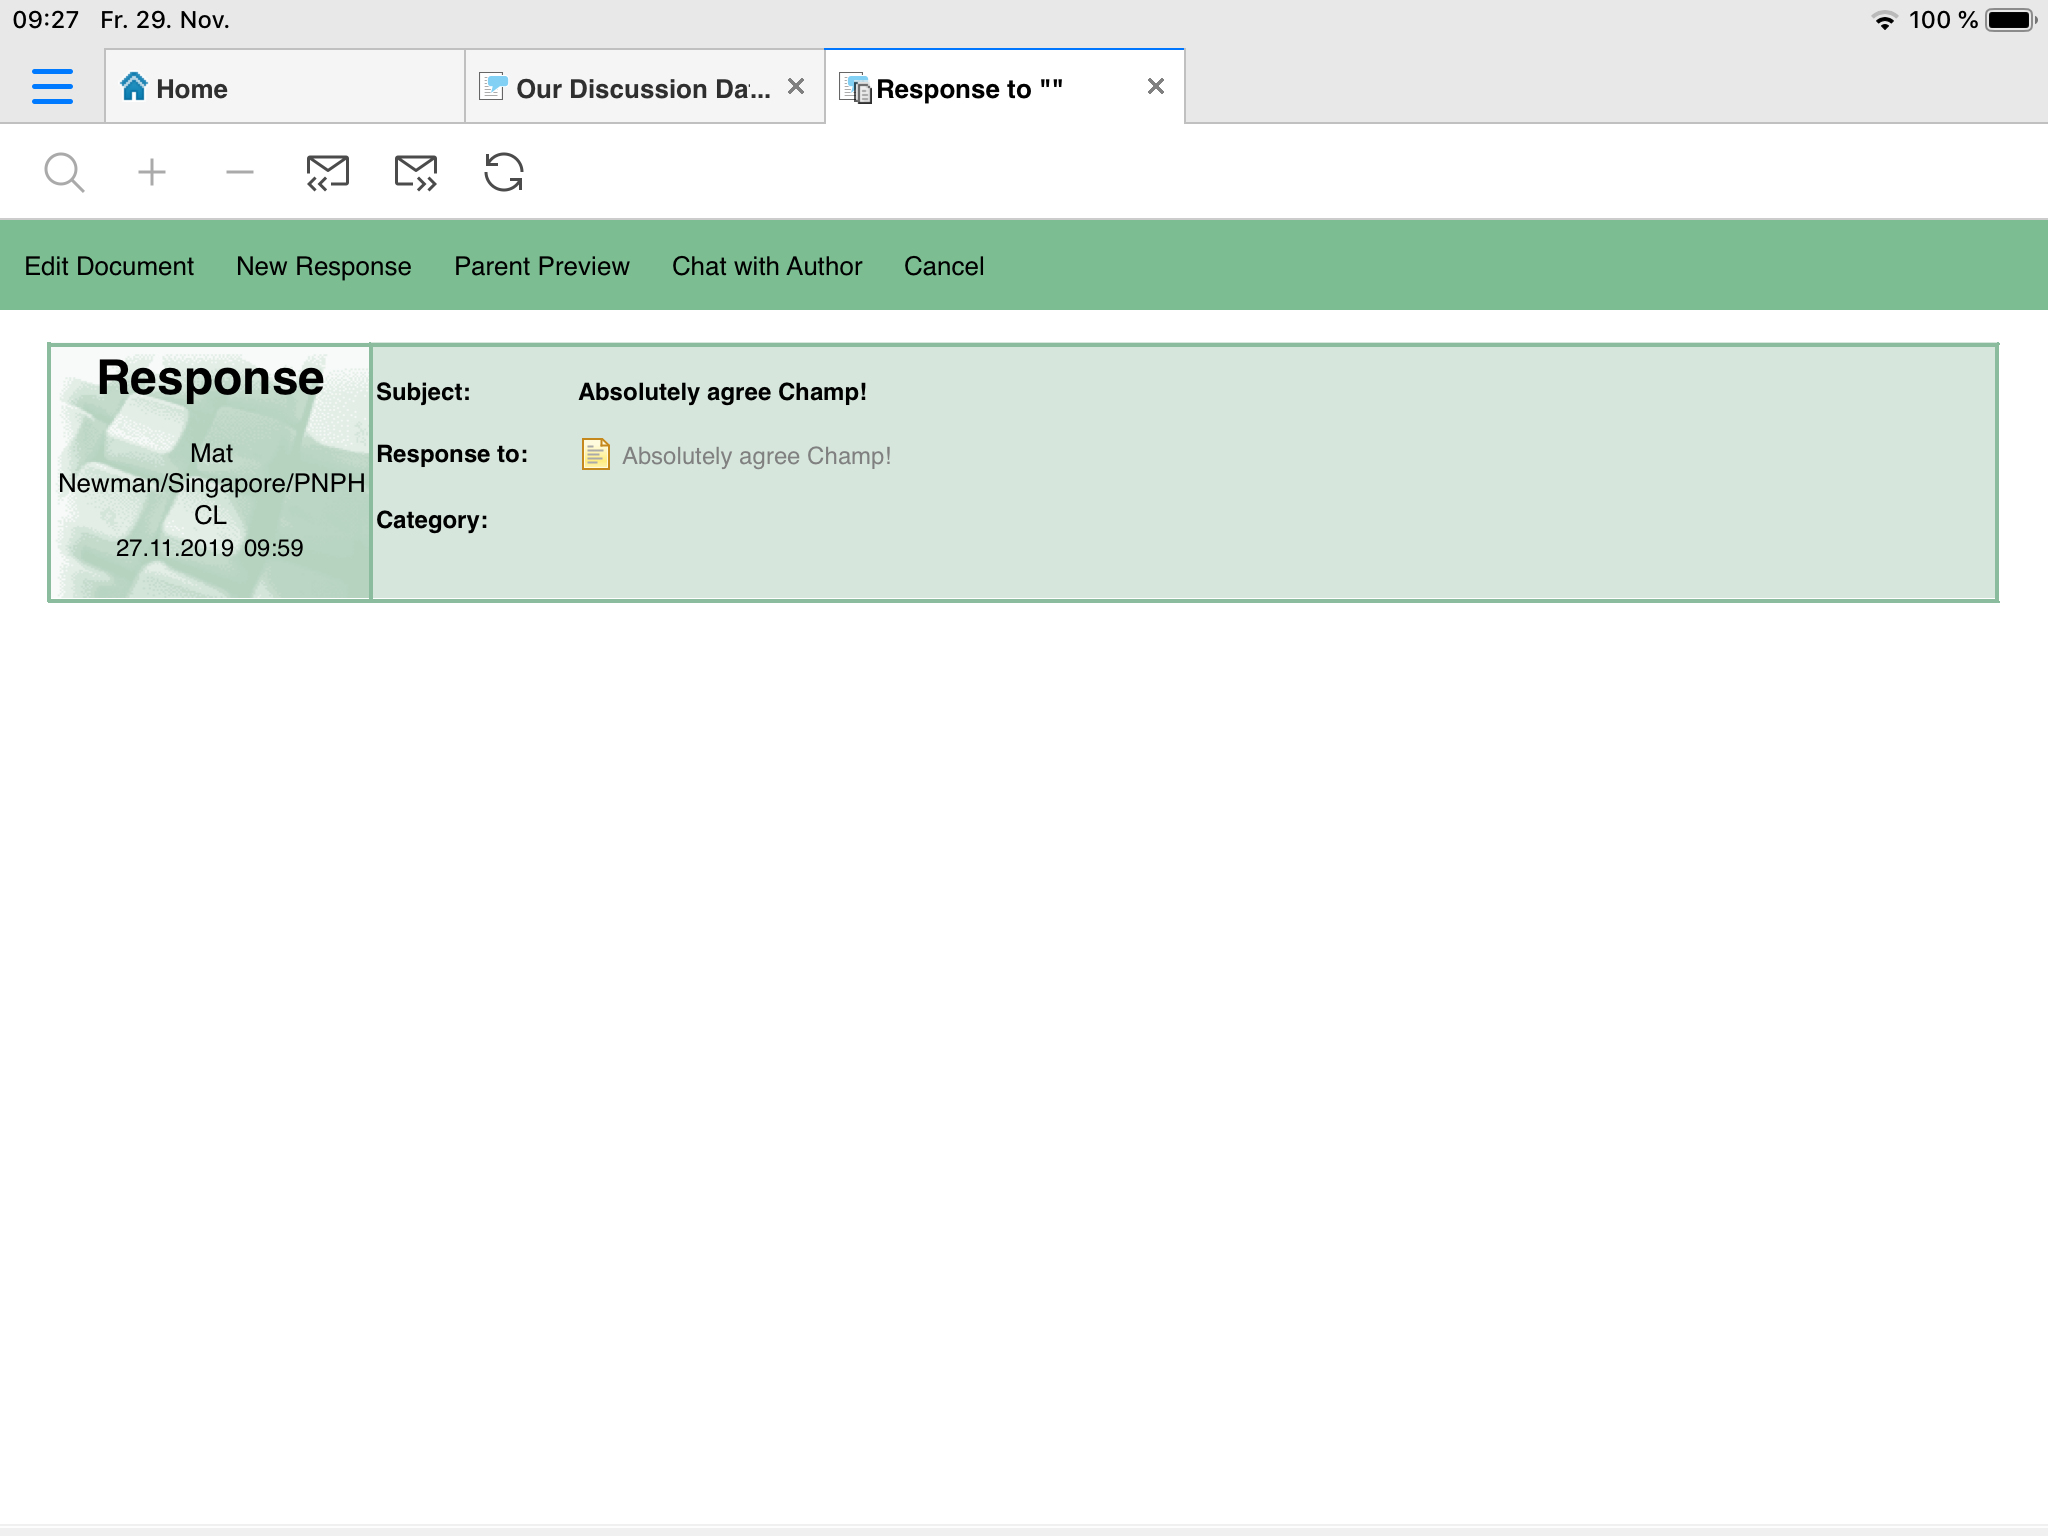
HCL Nomad Web is designed to free you from the traditional problems associated with downloading, installing, configuring, and managing desktop software. HCL Nomad Web - as it's name suggests - is designed to run seamlessly in a web browser, with no plug-ins, or extensions required, to give you the same Nomad access to your existing applications, simply by pointing your web browser to an existing Domino server. Like HCL Nomad Mobile, you need to have configured Domino ID Vault, ID Vault provides the same level of secure access to your existing Domino applications, while using HCL Nomad Web.
Other than that, you enter a URL, or click a link, enter your Notes ID username and password, and that's it. You now have a full client experience, including things like traditional desktop shortcuts, available in a browser. And just like HCL Nomad Mobile, HCL Nomad Web enables your users to access ALL of your traditional Notes and Domino based applications, in a browser, with ZERO code changes.
Nomad Web is also now available in beta, and the links for you to try this out, and to give us feedback, are included below.
Next I want to talk about something that you are going to be hearing a LOT about in the coming weeks.
HCL VOLT MX.
You have already heard about the new Low-Code capabilities that are included with HCL Domino Volt, these capabilities are designed for your users - your line of business process owners, to quickly create situational applications that address an urgent business requirement, quickly and easily through an entirely browser-based user experience. HCL Domino Volt has already proven to be a winner in our existing Domino customer base, to address an urgent business requirement for Low-Code/No-Code applications, without your users constantly hassling your IT or Business Analysts.
Now I'm going to grossly over-simply this next statement, so that this information is easy to consume:
HCL VOLT MX - The MX stands for Multi-Experience, that is - again, gross over-simplification - the ability to write code once, to be able to run anywhere, on any device, Desktop, Browser, Mobile, that breaks many of the constructs, paradigms, and restrictions of traditional application development.
As I've already mentioned, over the next few weeks you are going to be hearing a LOT from us on what HCL Volt MX can do for your business.
- Your going to hear: how you can Build an app for any device with one source base,
- we're going to show you how to Deploy beautiful, robust, native-mobile apps
- we'll show you how to Deliver your app without an app store
- and we're going to demonstrate how you can Leverage integrations ahead of the market curve
- Finally, you will see how VOLT MX Has lower Total Cost of Ownership than our competitors — and how we will help you quickly get up to speed and deploy VOLT MX apps with free code
At the end of February, we are going to begin a series of Webinars that go into the detail of all of these elements. We're going to be conducting sessions targeted for decision makers, for IT, for Developers and Practitioners, so that each of you can understand the benefits of this platform, how it can help your business in it's Digital Transformation, and importantly, how your technical folks can leverage the technology to quickly build and deploy an entirely new generation of applications.
Look out for all of these announcements, and again, the link to the Volt MX landing page is in the description.
But WAIT ... THERE's MORE!
Do the risk and compliance issues of your employees using public chat applications keep you awake at night? Do you want to be able to chat with any of your employees, on any device, or even across multiple devices and experiences, easily? Do you want a seamless presence awareness capability that integrates into virtually any desktop or mobile application to see when any of your employees are available? And do the spiralling costs of your current online meeting provider have you banging your head on your desk every time the bill comes in?
I want to closes today's session by reminding all of our existing customers about the amazing capabilities of HCL Sametime Premium.
HCL Sametime Premium includes Persistent 1-1, or Group Chat capabilities, on mutliple devices, either independently, or simultaneously, with the ability to switch to a call or video meeting, with a single click. And for our existing Domino customers, HCl Sametime can do all of this for as little as 1 US Dollar, per user, per month.
We all know what working from home means today. Get your costs under control, deploy securely on premises, or in the private cloud of your choice; Your Meeting. Your Data. Double the Value.
HCL Sametime Premium, again, the link is in the description, and myself, or any one of our local Digital Solutions Product Specialists would be happy to talk with you about HCL Sametime Premium, HCL VOLT MX, HCL Nomad Web, or the upcoming release of HCL Domino version 12, including the current beta.
I know that's a LOT of information to cover in this update, and again, I will be digging deeper into these topics over the coming weeks.
Links Mentioned in this episode:
HCL Notes and Domino, and the current Version 12 Beta: http://bit.ly/v12Beta01
HCL Notes and Domino Beta Forum: http://bit.ly/HCLSWbSU
HCL Nomad Web: http://bit.ly/HCLNW01
HCL VOLT MX: https://hclsw.co/mu9gec
HCL Sametime Premium: http://bit.ly/HCLSTl01
- Comments [556]


 Feeds
Feeds